Whether you want to make a change in password management just because, or you are a LastPass user annoyed by the services provided recent changes at its free level, switching to the much-loved (and free) Bitwarden service is a good choice. Bitwarden is now the best free password manager for most people – because it works on all your devices to add convenience and security to your connections – and setting it up is quick and easy.
To get started, go to Bitwarden site and create an account. It’s free to do and all you have to worry about is giving yourself a solid master password. Make it a good one and one you don’t use anywhere else, because it will be one of the gateway administrators for all the other passwords you store on the service. Once you’ve created your account and logged in, be sure to verify your email address using the option in the upper right corner.

If you come from another service – such as LastPass, for example – you’ll want to find a tool that you can use to export your passwords. On LastPass, this is hidden below Advanced options link at the bottom; exporting your passwords basically turns them into a simple .CSV list.

G / O Media may receive a commission
Then copy the list (which I don’t see, for obvious reasons) directly into Bitwarden via instruments menu > Import Data.

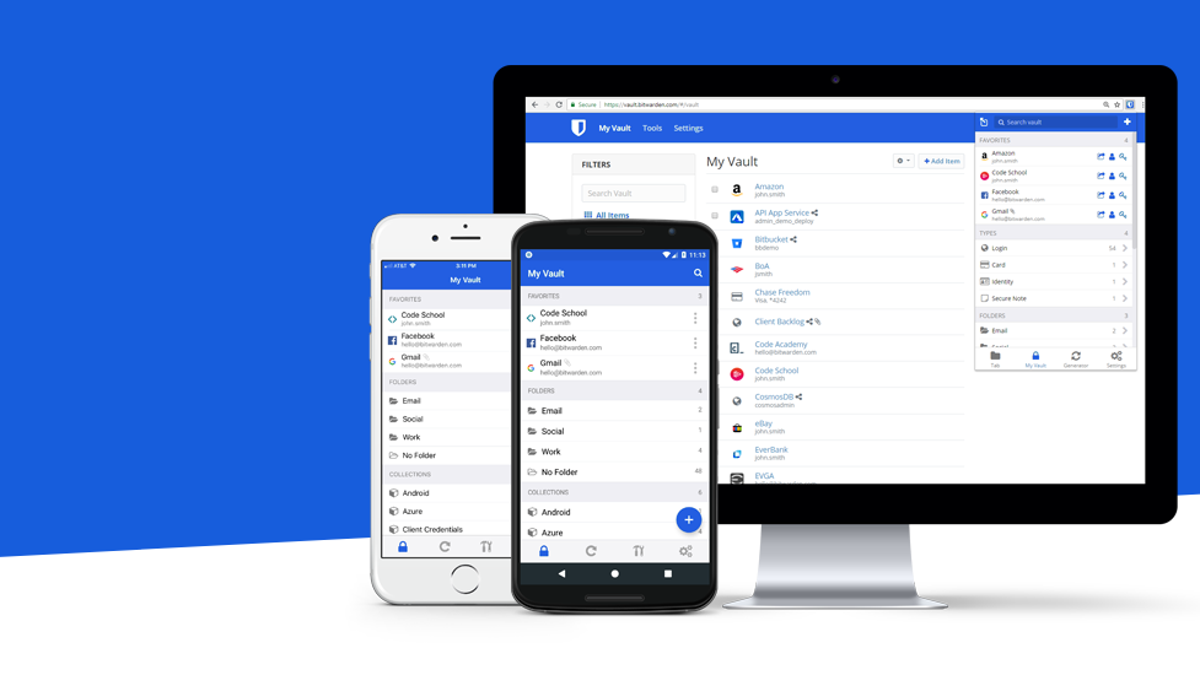
Your passwords will all appear on the main screen and should sync with the various Bitwarden applications the next time you use them. To edit any of your passwords, just click the hyperlink for a specific site or service. You can also use the wheel icon that appears when you hover over each list to copy your username or password directly to the clipboard.

These are the basics of Bitwarden, but you’re not done yet. Click on the profile picture in the upper right corner and select My account. From there, click Two-step connection in the left sidebar.

Here you will set up two-factor authentication for your account – this is not necessary for you. use Bitwarden, but it is highly recommended that you keep your account safe from unauthorized connections. You can choose to email 2FA codes to verify any authentication attempts, but I recommend using an authentication application instead. They are just as easy to set up and act as a password manager for all two-factor authentication tokens.
You may also want to visit choice link in the left sidebar, which will allow you to adjust the expiration time of the safe – as well as in what period it will remain open since its last access. Go through that moment and you’ll need to enter your password again. Give up this if you’re on a shared computer and consider turning it around a bit if you feel particularly secure in your setup.

After that, grab all the Bitwarden applications and extensions you will need it for your devices and browsers. Installing them is easy and gives you access to everything you have stored in your Bitwarden safe. For your browser, for example, you’ll simply need to right-click a password prompt to retrieve Bitwarden autocomplete:

And that’s it. The free version of Bitwarden doesn’t offer a lot of features – it doesn’t check your saved passwords for leaks, for example – but it does give you a quick and easy way to sync passwords on all your devices. What’s not to like?